Introduction
This is an unofficial owner’s guide for the 2025 KTM 500 EXC-F.
It should be thought of as a companion to the official manual. It is not complete. It will contain information that I’ve dug up and wanted to document for myself. Either because it’s information that isn’t in the manual at all (and requires trolling the internet), or because information is in the manual but the manual is incredibly frustrating to use in general and especially on a phone while you’re working on the bike.
Emphasis on unofficial. Always double check information, especially safety critical, with official sources.
Torque Specifications
This is unofficial. Always verify against your official KTM manual before tightening anything.
From the repair manual
These are from the “repair” manual which is distinct from the “owner’s” manual.
| Fastener | Torque (Nm) | Threadlocker? | Description |
|---|---|---|---|
| Handlebar mount screws (M10) | 40 | Loctite 243 | Screws fastening the handlebar support to the top triple clamp. |
| Handlebar clamp screws (M8) | 20 | Not specified | Screws fastening the handlebar clamp to the handlebar support. |
| Rear sprocket bolts (M8) | 35 | Loctite 2701 | Nuts+bolts holding rear sprocket to the wheel. |
Cheat Sheet
Dedicated cheat sheets for specific maintenance items or other tasks.
Bleeding Front Brake
Brake fluid kind
My repair manual states “DOT 4 / DOT 5.1”. Check your manual to be sure.
By-the-book process
This is from my KTM repair manual (annoyingly it is not in the owner’s manual).
- Move the brake reservoir mounted on the handlebar to a horizontal position.
- Remove screwns on master cylinder.
- Take off cover with membrane.
- Extract the old brake fluid from the brake fluid reservoir using a syringe and fill with fresh brake fluid.
- Pull off protection cap of the brake caliper bleeder screw.
- Connect the bleeder bottle hose.
- Pull the hand brake lever and hold it in place.
- Open bleeder screw by approx. one half turn.
- (Brake fluid runs into the bleeder bottle hose.)
- Tighten bleed screw.
- Release the hand brake lever.
- Repeat the procedure until fresh brake fluid emerges from the hose of the bleeder bottle without bubbles.
- Ensure that the brake fluid reservoir is always filled with a sufficient amount of fresh brake fluid.
- Remove the bleeder bottle hose. Mount protection cap.
- Add brake fluid up to level.
Reverse bleeding
Caution
This is my personal preferred process of reverse bleeding. It is NOT the processes recommended in the manual. There may be reasons to avoid this method so proceed at your own risk (linked report is an AI generated deep research and may contain inaccuracies).
Why reverse bleeding?
- It’s stupidly fast and easy.
- It’s really good at getting air bubbles out.
- I only did did it successfully by the book once or twice until it wouldn’t work, I think due to air bubbles lodged somewhere. I ended up having to reverse bleed anyway and decided to make reverse bleeding my default going forward instead of struggling.
Equipment
This is what I use:
- Large syringe with hose (in this case, this bleeder kit) to push fluid through the bleeder valve up the line.
- Smaller syringe to evacuate the master cylinder (and precisely top off at end)./bleeding-pump).
- Bottle to dump used fluid in.
Picture:

Process
- Get master cylindar in horizontal position and open it up.
- OPTIONAL: Start with by-the-book bleeding first (see above) and only proceed with reverse bleeding below if needed.
- Attach hose to bleeder valve, other side in large syringe (with plunger removed so you can fill it with brake fluid while already connected).
- Empty master cyliner using small syringe.
- Fill with brake fluid.
- Use a wrench to hold open the bleeder valve slightly WHILE plunging down and slowly watching the fluid rising in the master cylinder. Stop and empty into bottle when needed. Note that for me the bleeder valve bolt will tend to rate and close up on its own especially when pressing down. This is why I say to hold the bleeder valuve open as opposed to that being a separate step.
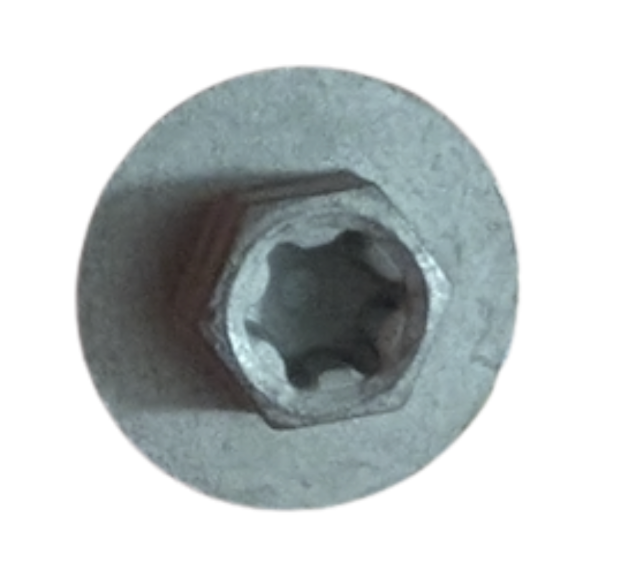
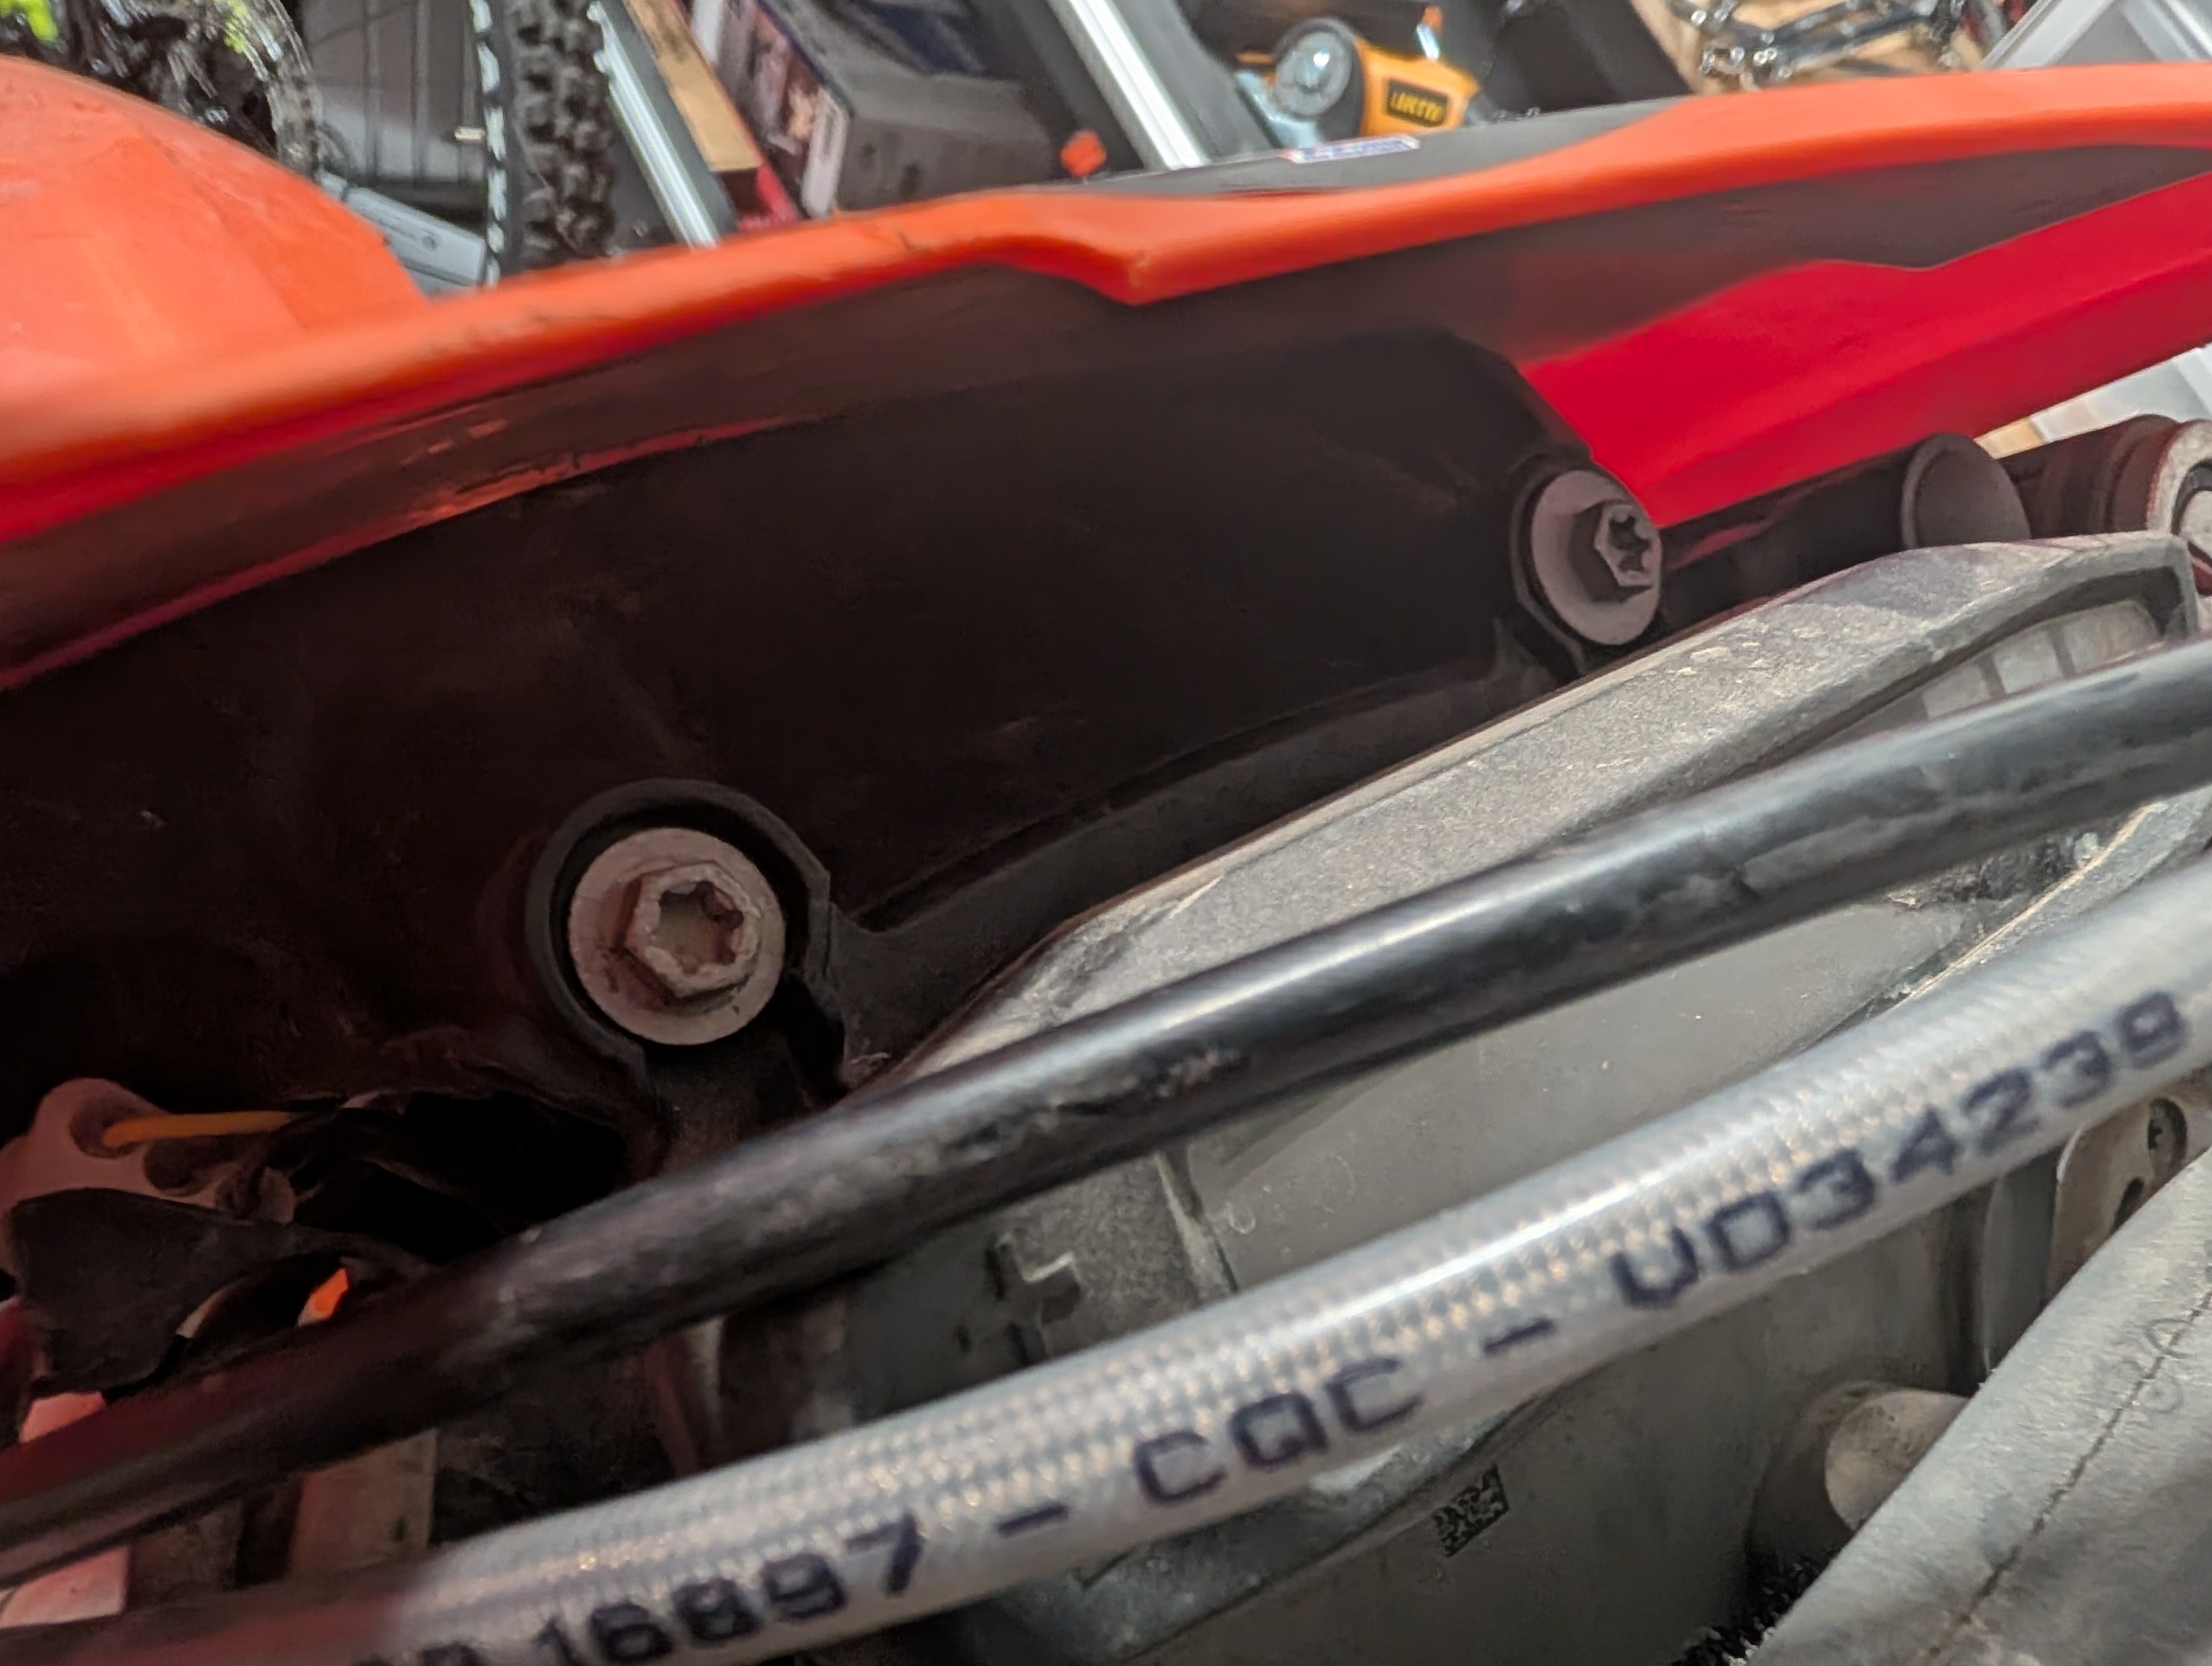
Bleeder valve:

Oil Change
Draining oil and re-fasten
- Losen fill plug
- Remove magnetic drain plug (right-most when viewed from side of bike)
- Clean/inspect.
- Remove screw plug at bottom of engine case.
- Remove oil screen (to the left of magnetic drain plug when viewed from side of bike)
- Clean/inspect.
- Fasten bottom of engine case, 15 Nm
- Fasten oil screen, 15 Nm
- Fasten drain plug, 20 Nm
Oil filter
- Remove cap/filter
- Add oil maybe 50-75% of filter space.
- Insert new filter.
- Fasten oil filter cap, 10 Nm
Remainder
- Add oil using sight glass.
- Start bike, cycle through gears.
- Sit a few minutes.
- Top off per sight glass.
Wtf is that part?
That screw in front of the display
The screw is M6X12X3. This took me one time ordering the wrong one, then ordering all the screws even vaguely possibly right from the parts diagram…